

The Magic of Making Glass Beads
There’s something truly captivating about watching glass melt in a flame, how it shifts, stretches, and suddenly transforms into something beautiful. That was the moment I fell in love with bead making.
As someone who thrives on creativity, glass bead making has become one of my favourite ways to express myself. It’s where colour, fire, and imagination all come together and each bead holds a little story, just waiting to be told.
✨ Why Glass?
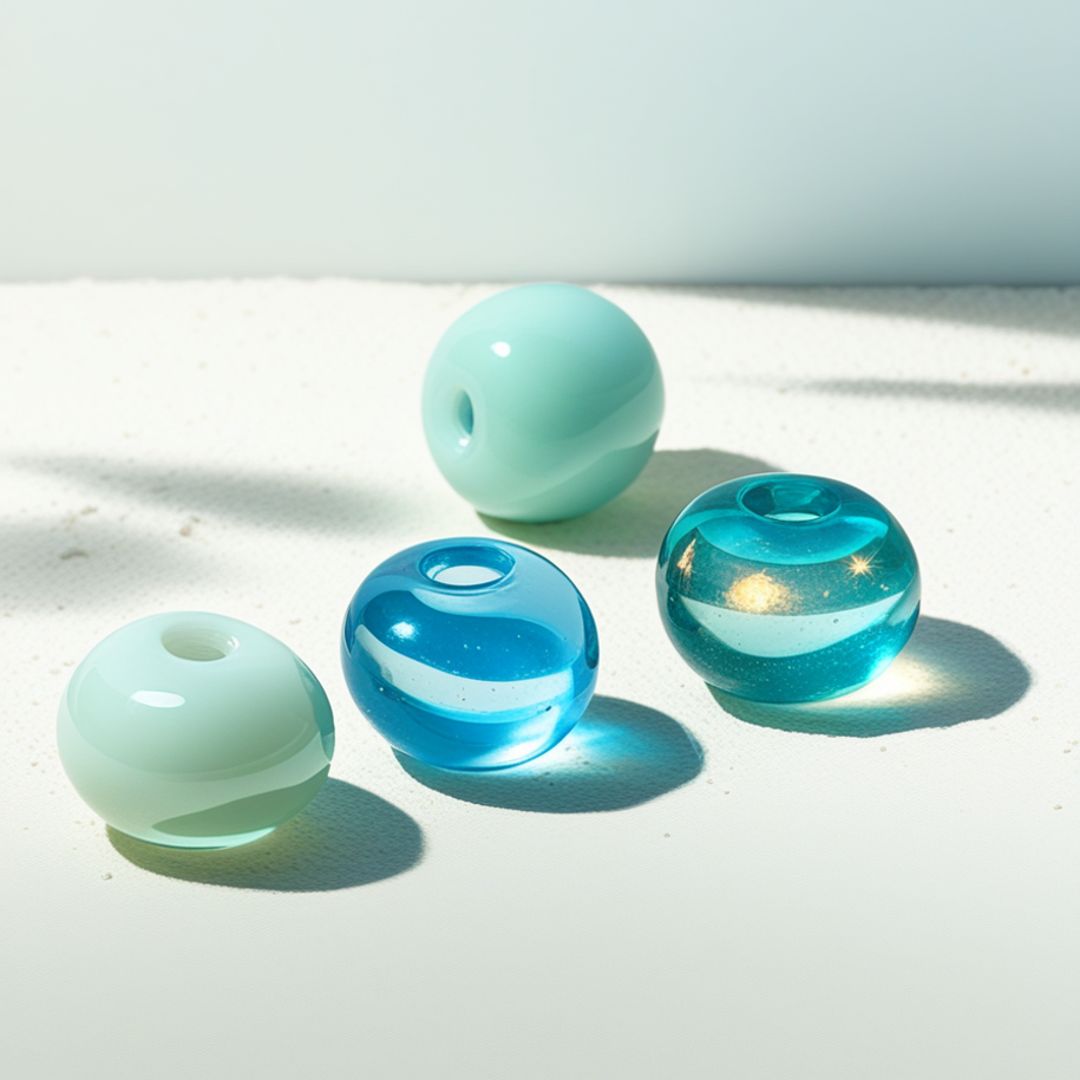
Glass beads have always held a special place in my heart. There's just something about how the light dances through them, shimmering, glowing, sometimes even whispering a bit of magic. The way they reflect and refract light creates an almost dreamlike effect that instantly draws the eye.
And the colours! Oh, the colours. From rich jewel tones to barely-there pastels, glass offers an endless playground for layering, blending, and experimenting. Every rod of glass holds a new possibility.

🔥 Where the Magic Begins: Tools, Torches & Technique
If you’ve ever wondered what it takes to make a glass bead, here’s a peek behind the scenes.
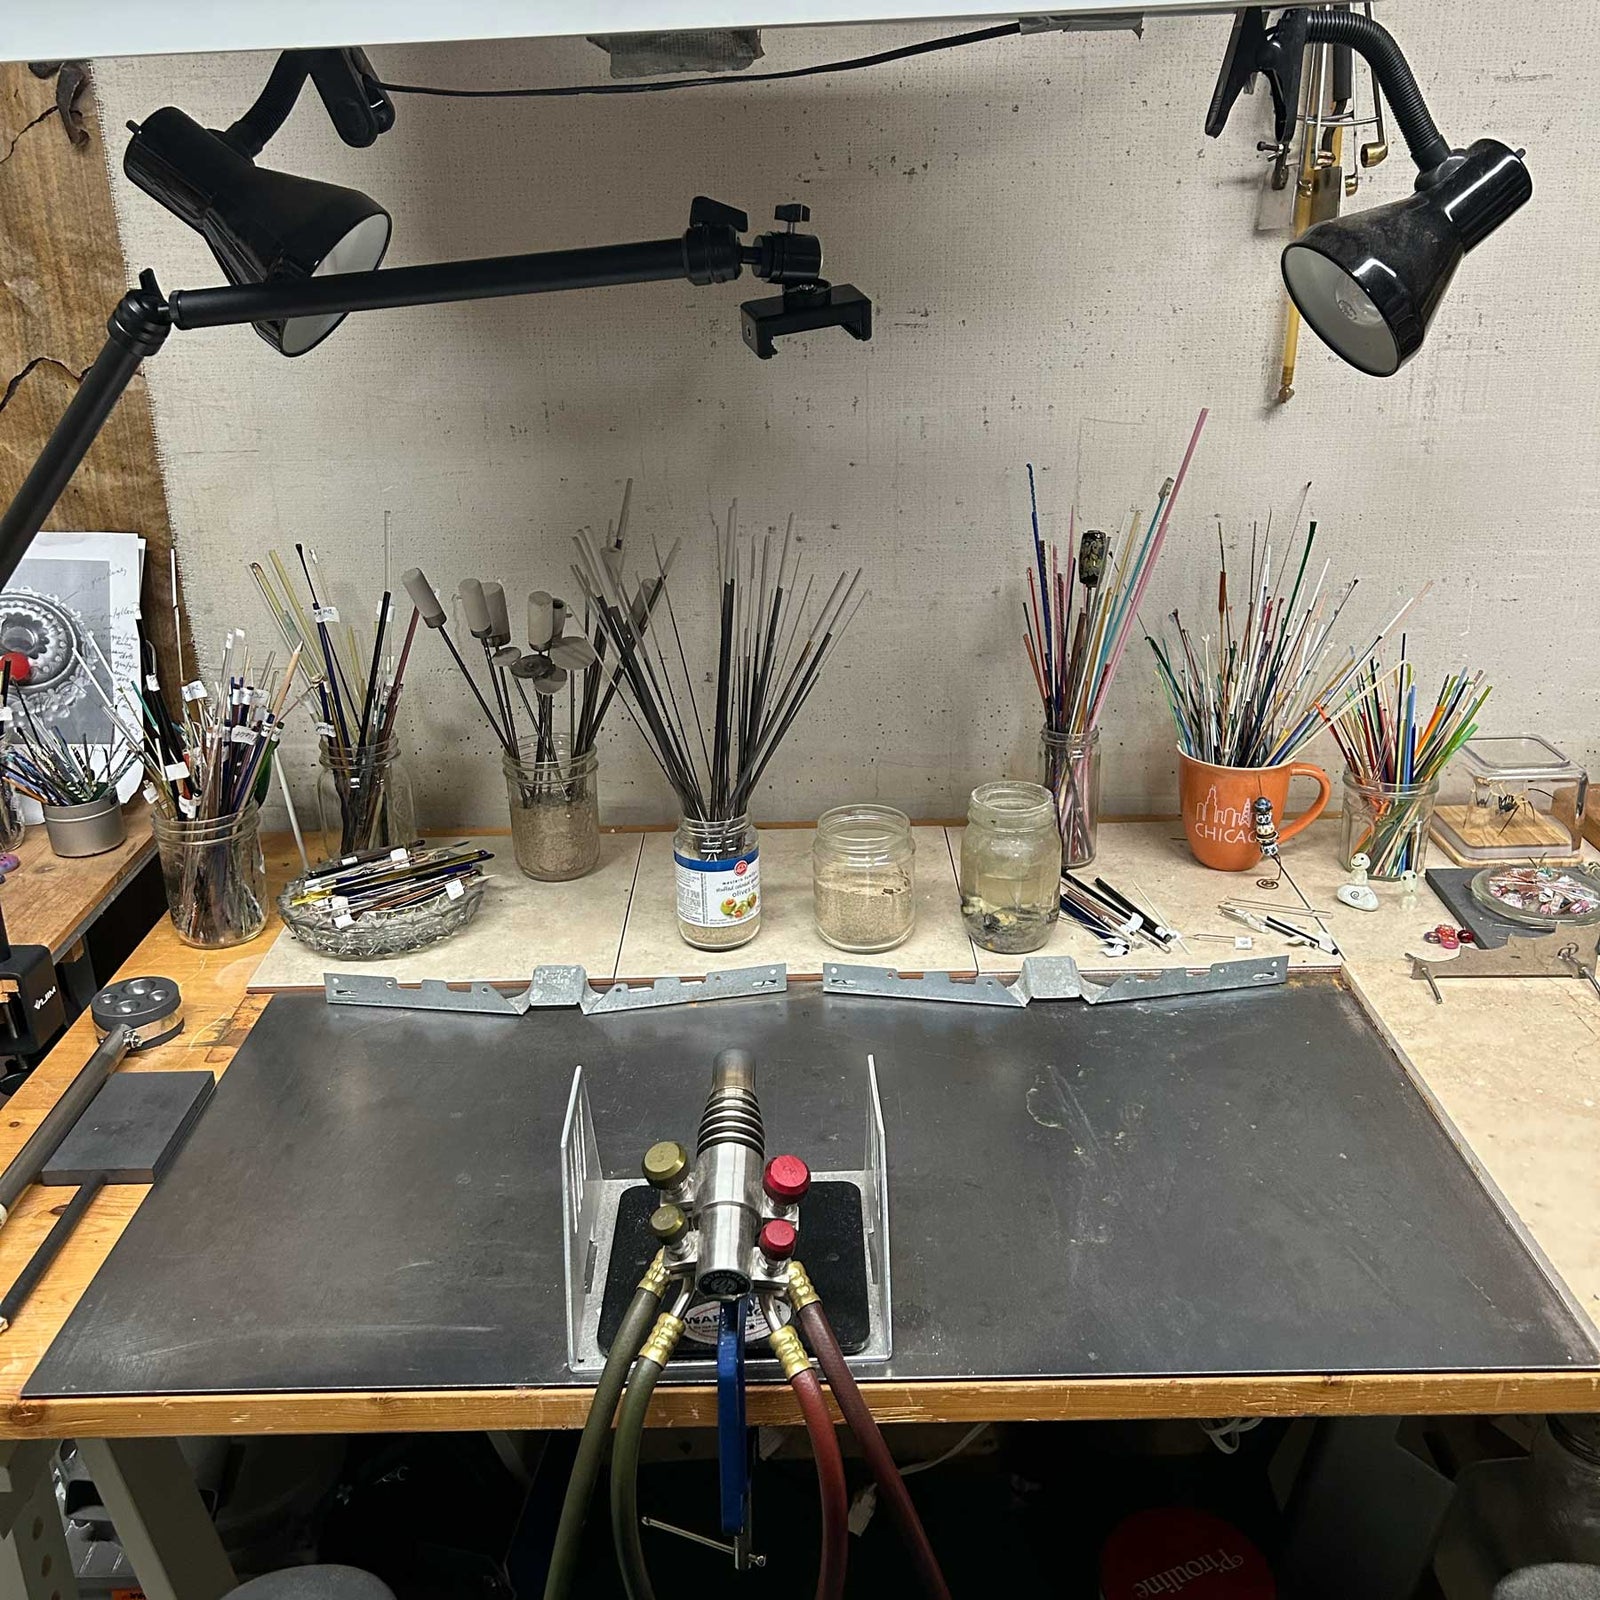
My studio is filled with the clink of tools, the low hum of the torch, and the quiet rhythm of creativity. To start, here are the basic tools of the trade:
- Mandrels – stainless steel rods that form the core of the bead
- Bead release – a clay-like coating to keep the glass from sticking to the mandrel
- Marvers and presses – used to shape and flatten the glass
- Pointed rods & picks – for adding fine surface details
- Glass rods – in every colour imaginable
- Table-mounted torch – the heart of it all
- Didymium safety glasses – essential to protect your eyes from the flame
- Proper ventilation – because safety always comes first
Note: Curious about setting up your own studio? Click here to learn more.
🌀 The Bead-Making Process
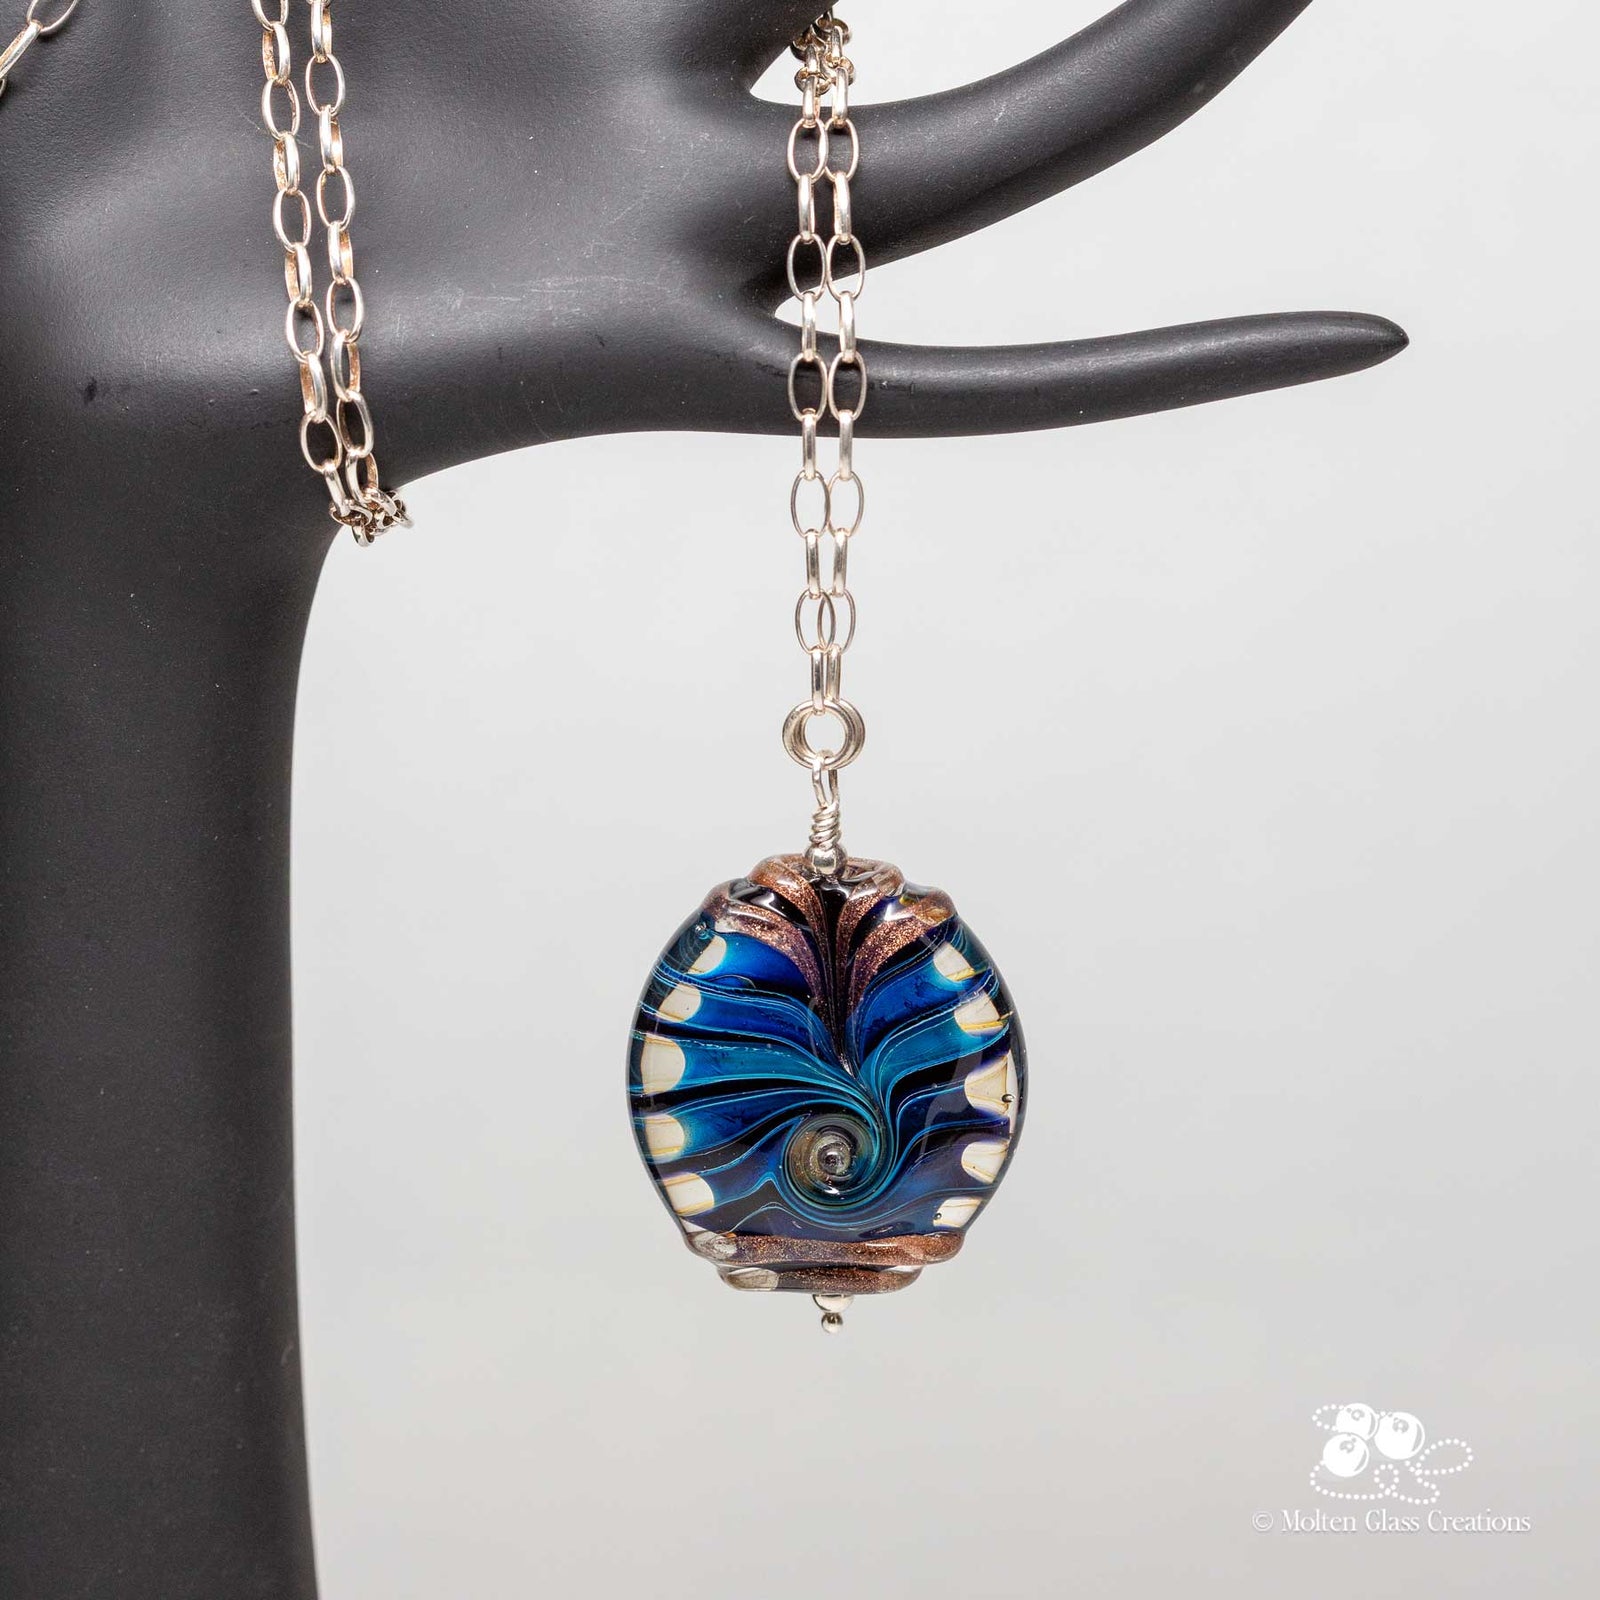
The process starts by heating colourful glass rods in the flame of a fuel-fed torch. Once molten, the glass is wound around a steel mandrel and shaped into a bead. From there, tools and techniques come into play, twisting, layering, dotting, to bring the design to life.
Once the bead is finished, it heads into a digitally controlled kiln to be annealed. This step slowly cools the bead to relieve stress in the glass.
(Side note: a kiln isn’t essential to get started. You can batch anneal later. Feel free to message me if you want to know more!)
🌊 Where Inspiration Comes From
Inspiration is everywhere, nature, art, memories, emotions. The world is full of colour and story, and it all finds its way into glass.
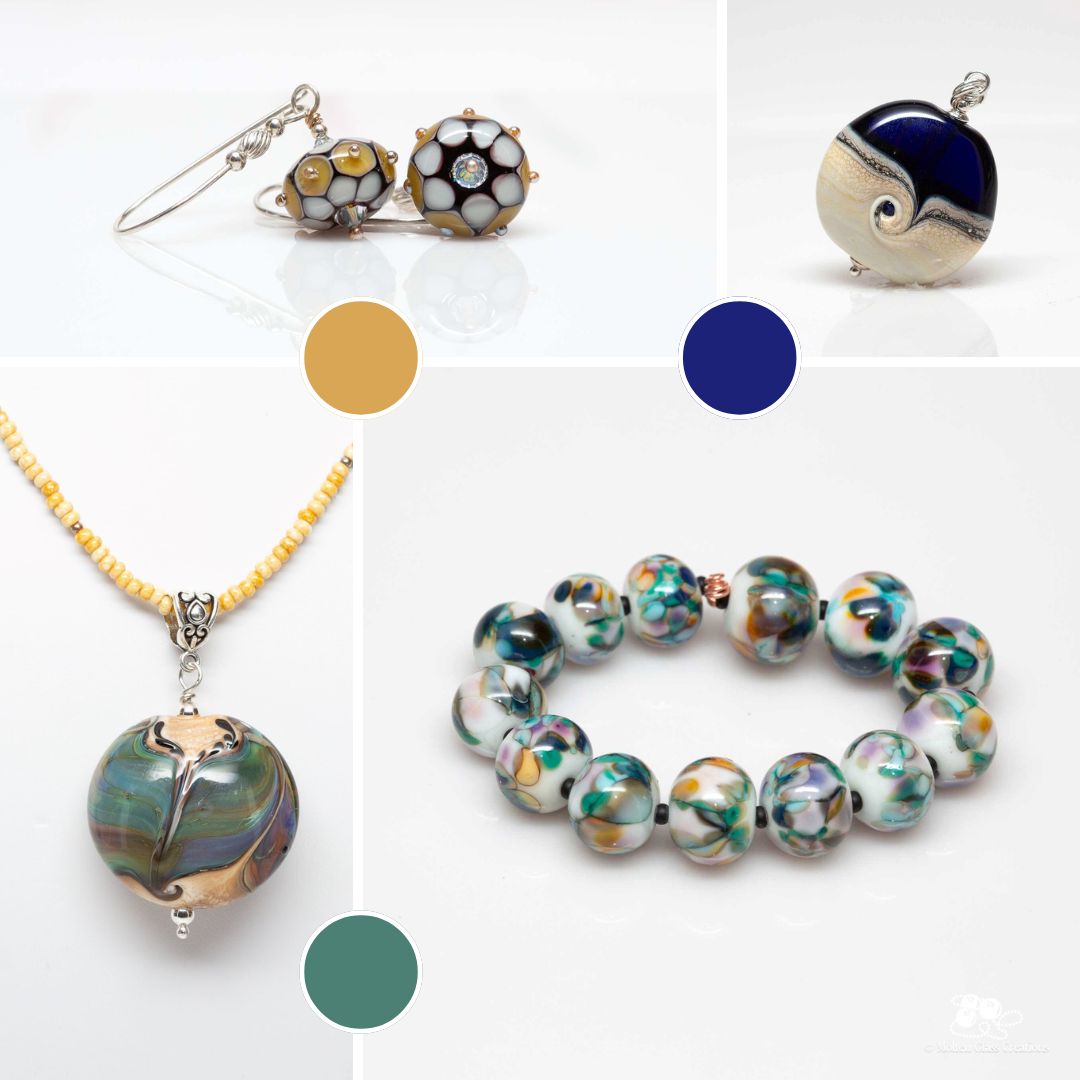
Some of my favourite beads have been inspired by the ocean. Swirling blues, seafoam greens, and coral pinks that echo beach days, tide pools, and those quiet moments floating in Desolation Sound.
Floral designs are another favourite. Some bead makers add flowers to the surface, others sculpt the entire bloom in glass. And then there are the patterns, sometimes inspired by vintage fabrics, tiles, or ornate Turkish rugs.
“A bead can hold a memory. A mood. A message.”
That’s the beauty of handmade glass. It’s more than a craft, it’s a connection.

💬 A Bit of My Back Story
When I first started lampworking, I was so excited I could barely sit still at the torch. I remember setting up my little studio, practicing every day, and being equally thrilled and frustrated when my beads didn’t turn out the way I pictured them.
Three months in, things began to click. I finally got comfortable with the flame, figured out how to make a decently round bead, and started experimenting with decoration.
Let me tell you, my brain was bursting with ideas. But here’s the truth I wish I knew then: you don’t have to try everything all at once. Pick a style, play with it, get good at it… then move on to the next. (Ask me how I learned this the hard way!)
🎯 Dot It Up: Decoration Techniques
One of the first (and still my favourite) decoration methods is dots. Sounds simple, right? But creating good dot work takes finesse.
Dots can be playful or precise, layered into flowers or melted into spirals. It’s all about heat control. Too hot, and your perfect little dots will slide around like syrup on a pancake. Just right, and they’ll hold their shape and shine.
Another gorgeous technique is scrollwork, using a thin thread of glass (called a stringer) to draw on the surface of the bead. It’s delicate, detailed, and oh-so-easy to melt into a puddle if you don't have a grasp on your heat control. I don’t use scrollwork much in my own designs, but when it’s done well? It’s pure magic.
📹 Want to See It in Action?
Here’s a short video I made showing a bead in progress using a masked dot technique. It picks up some of my studio noise, so you might want to turn the volume down a little 😉
🧵 What’s Next?
I could talk for hours about all the ways to decorate a bead or the reasons I think everyone should try making something with their hands. But for now, I hope this post gave you a little peek into the beauty (and joy) of bead making.
There’s just no limit to what you can do with imagination and glass and I know I’ll be doing this well into my golden years.
In Part 2 of this series, I’ll show you how these beads find their way from the flame… to the jewelry box. We’ll talk about design choices, colour pairings, and how I decide which beads become earrings, bracelets, or maybe even little gifts that speak to someone’s heart.
Until then—stay curious and creative 💛