

Making your own findings
Have you ever had a vision of a design in your mind but just couldn’t find the right components to bring it to life?
Do you find it challenging to find affordable components and findings that also maintain the high quality you desire for your jewelry pieces?
Have you considered making your own findings and components but don’t know where to start?
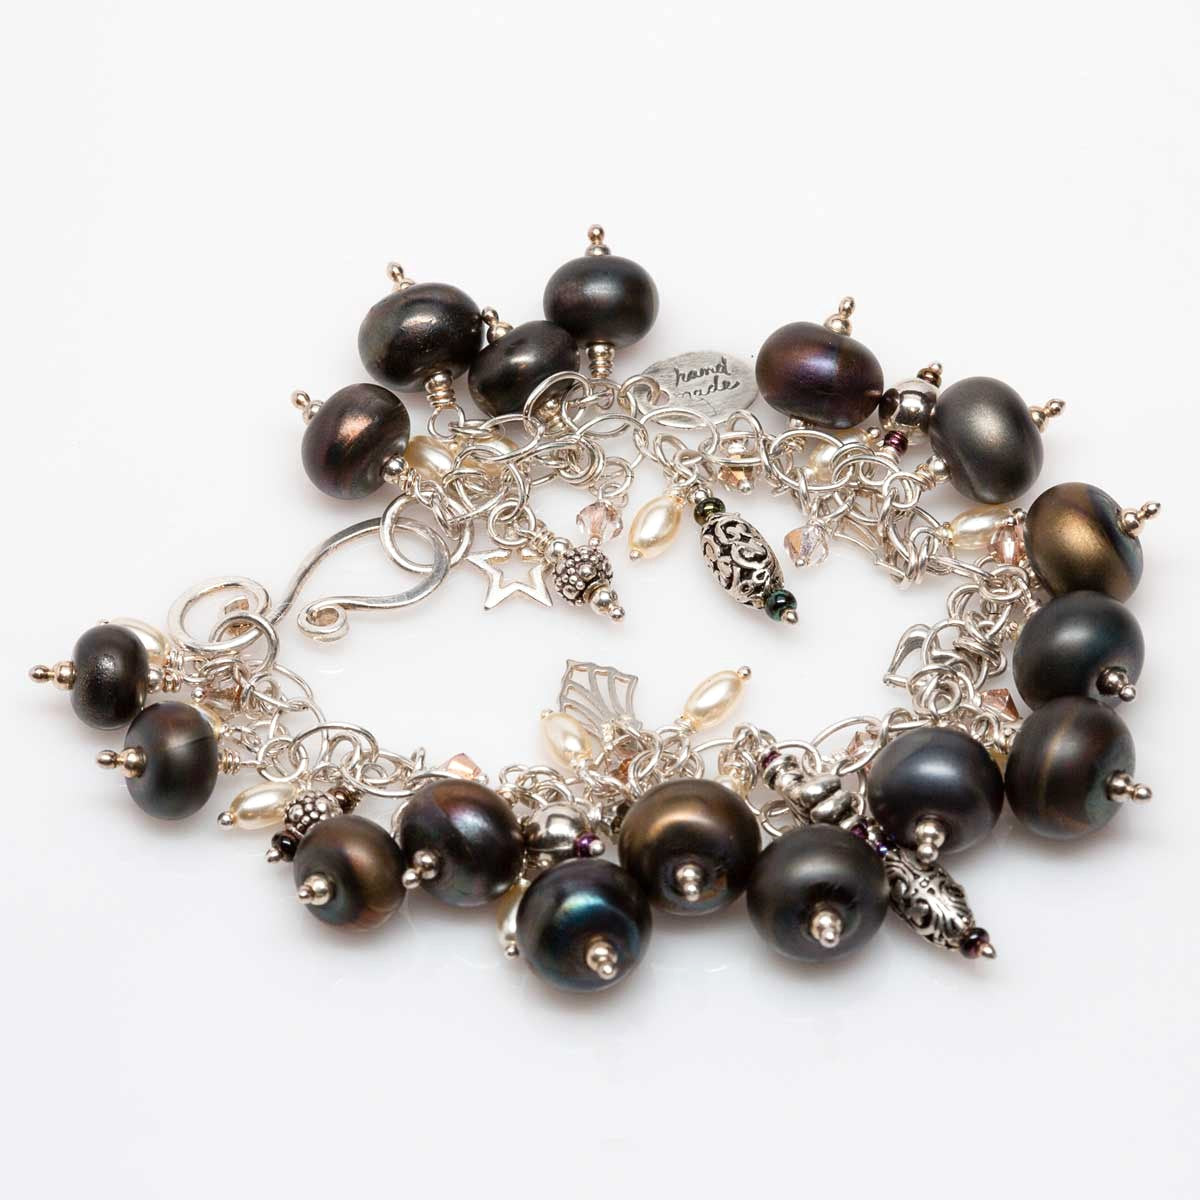
By making your own findings, the only limit is your imagination. Want a clasp that perfectly matches the focal bead of your bracelet? Or maybe bead caps that compliment the colour and shape of your glass beads like they were made for each other? Making your own findings is the way to go!
Some of the immediate benefits are:
- Your designs will be uniquely yours.
- You control the cost of goods when you make your own.
- You control the level of quality
Don’t know where to start? Let me help with that! Below is a short tutorial on making painted bead caps that should start your creative juices flowing. I know it did for me. Enjoy!
Painted Bead Caps
the Back Story ...
While trolling internet one day, I came across another beadmakers work and she had finished her beads with painted bead caps, they were stunning and I knew I absolutely needed to get some. Unfortunately I couldn’t find them anywhere. I found several sites where special caps similar to these were used but none where I could buy them, so I decided to make my own.
the Research ...
After spending a bit of time down the rabbit hole in my search for information, tutorials, and supplies on how to paint metals, I finally decided to give it a try. The best paints I found were Vintaj –
https://rangerink.com/en-ca/collections/vintaj. They have a huge selection of colours and the metal takes the paint nicely. The metals I used were copper and brass.


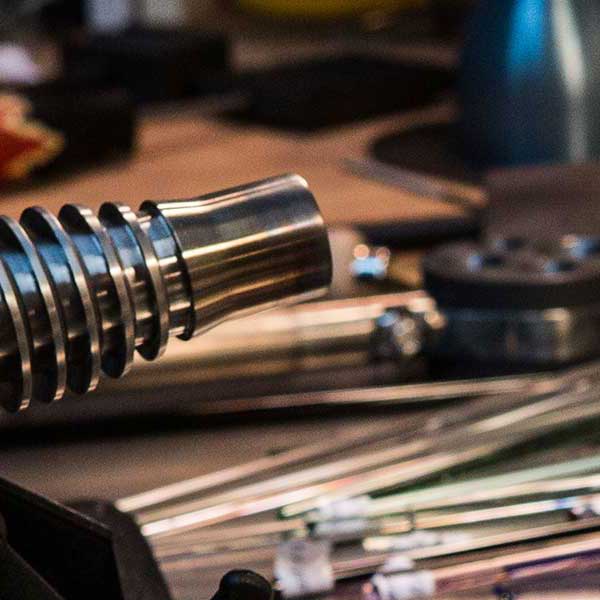
the Process ...
To paint metal it needs to be cleaned first and in some cases roughed up a bit. I found clean copper took the paint very well without needing to do more than clean the surface but the brass was a little tougher so prepping its surface is recommended. Basically you want to rough up or prime the surface so the paint can adhere.
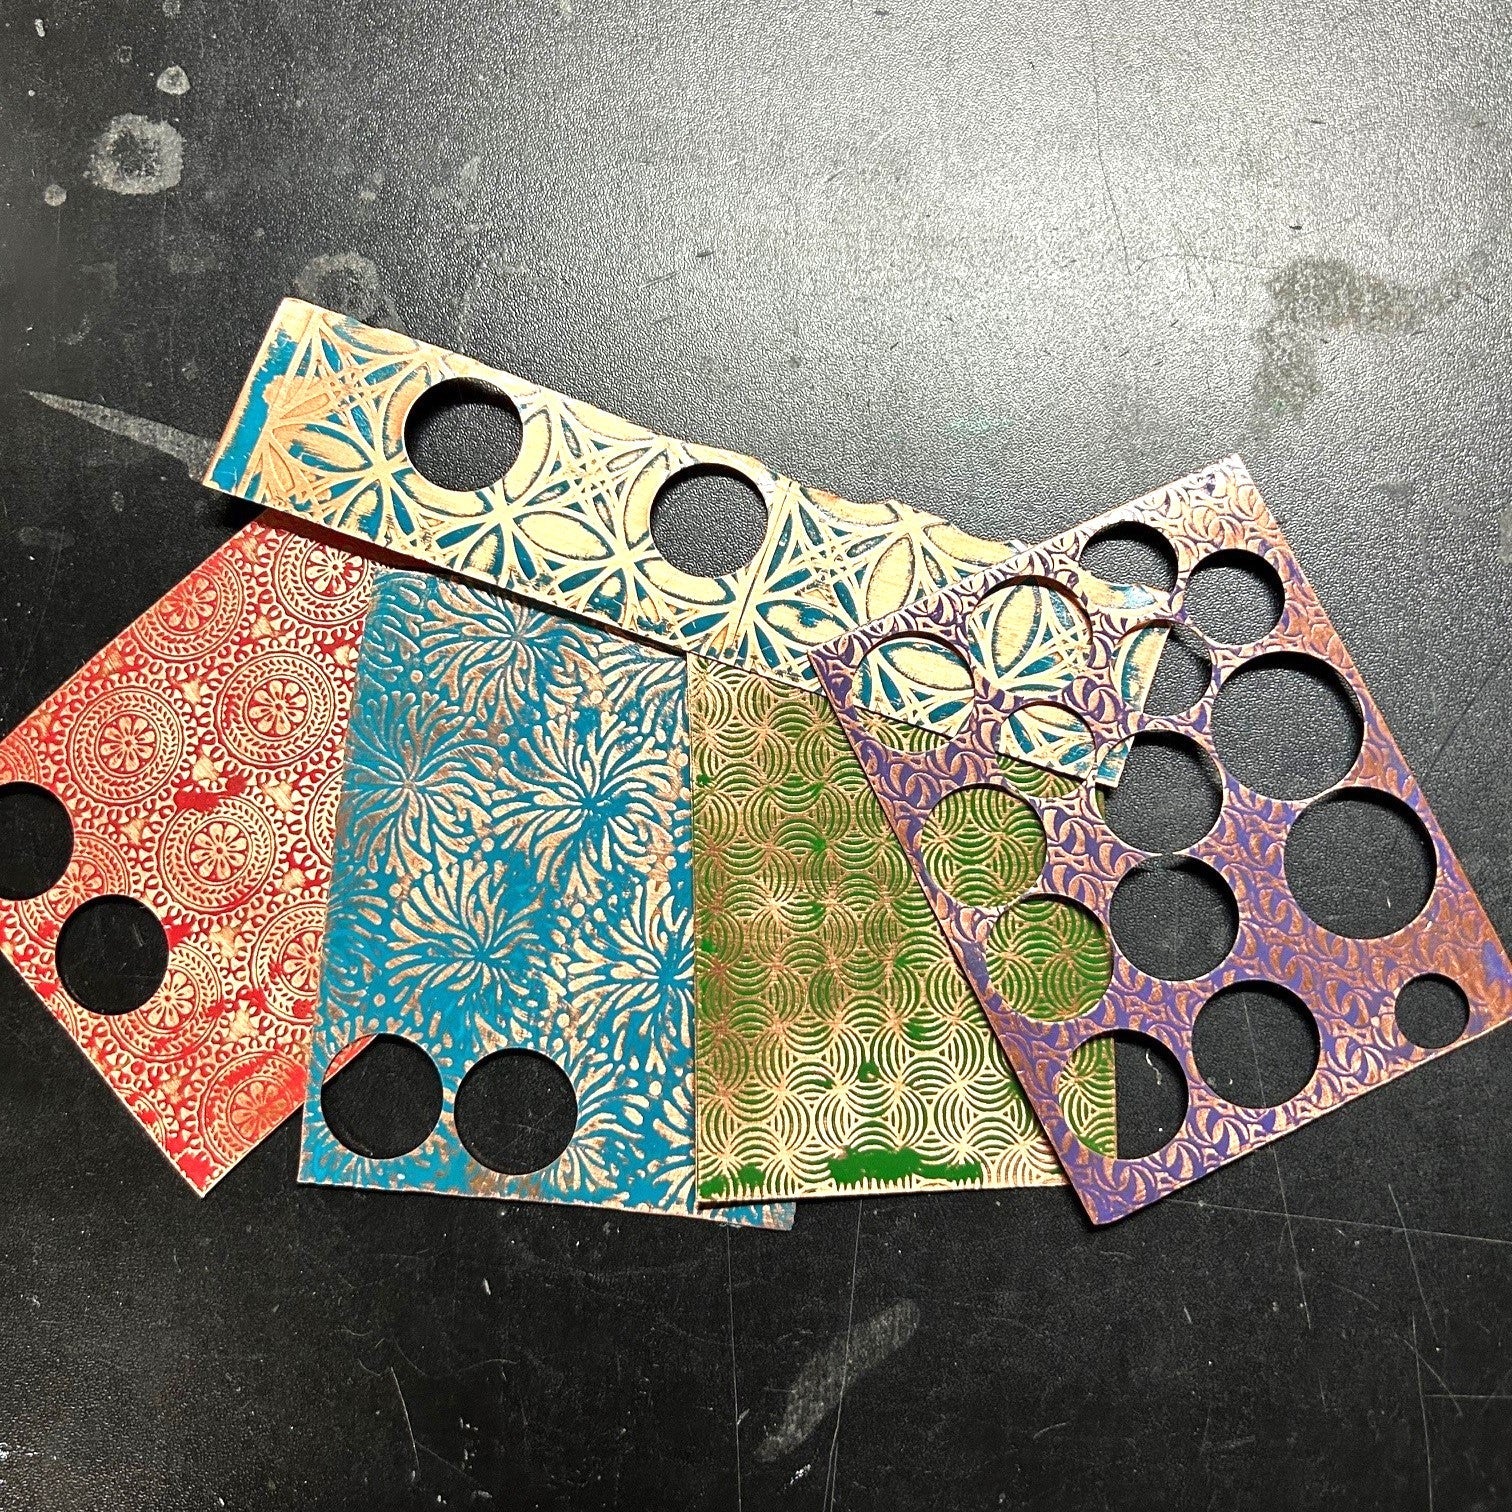
After patterning my metals I used a paint brush to apply the paint. You want a nice even coat of paint so it fills the impressions in the metal. Once the paint is dry you’ll sand off the paint on the raised parts creating a nice contrast. I used various grits of sanding sponge from medium fine to ultra fine, I recommend the 3M sanding sponges which are available in most craft stores.
https://www.kernowcraft.com/product/3m-sanding-sponge. You don’t want to scratch off the paint in the impressions and you don’t want to leave visible scratches on your raised parts.
After painting, drying, and sanding you want to seal the metal so the paint doesn’t scuff off or fade. There are a number of metal sealants available and with a little research I found several recommended ones. A couple I’ve never tried but will are
Vintaj Glaze and
ProtectaClear. For my projects I used a
Krylon product because it was available locally and right away. I have no patience!
Disk cutting ...
You can cut the disks before you spray them with sealer or after. If you cut after you seal it’s worth respraying the cut disks so the bare edges are sealed. This depends on the look you’re after so try both. I sprayed the painted plate and again after cutting and doming just to further seal the caps.


So that’s pretty much it for painted bead caps. This same process can be used when you’re making bails or bezels as well. Please feel free to message or email me if you have any questions about painting metal or making bead caps.
Notes ...
I love the look of coloured metal. I often mix my metals when I’m making bead caps and painted caps take things to a whole new level. A few things to note:
I did try alcohol inks but was not thrilled with the effect but I’d love to see the results if anyone has tried it.
If you want to colour silver there is an excellent reference book called Patina. This book lists 300 ways to colour your metals.
Patina-Coloration-Effects-Jewelers-Metalsmiths
I found this website that you may find interesting. She walks you through her testing process of various metal paint applications. I particularly liked the look of the
Gilder’s Paste.
Beading Gem
If you found this post interesting, please come back and enjoy more on “for the Love of Findings” as I’ll be adding to this series in different posts.