

Crafting Your Own Clasps and Bails

Ever been stuck trying to find the perfect accent bead or accessory for the jewelry design you’ve dreamt up? Finding that ideal accessory often feels like searching for a needle in a haystack—it’s either nearly impossible to find, absurdly pricey, or miles out of reach.
So, what’s your move when you hit this wall? Do you tweak your original design to fit the second-best options at hand, or do you shelf your vision until you come upon the perfect match?
In the world of jewelry design, ‘findings’ are the unsung heroes that bring your creations to life. These critical components, which include clasps, bails, ear wires, and more, serve not only as functional elements that hold your jewelry together but also as an opportunity to inject extra flair and personality into every piece. So why settle for off-the-shelf findings that countless others are using? Making your own findings isn’t just about achieving a perfect match for your designs; it’s about elevating your jewelry from beautiful to truly one-of-a-kind.
Crafting your own clasps and bails allows you to tailor every aspect of your piece to your vision, ensuring that the functionality of your jewelry carries the same uniqueness and artistic integrity as the aesthetic elements.
Crafting Uniqueness Through Technique
This blog post is dedicated to all the creators out there who dream of jewelry that fully captures their vision, down to the last clasp. We’ll dive into the heart of making your own findings, focusing on clasps and bails, the linchpins of any piece of jewelry. Not only will we cover the essential techniques for crafting these elements, but we’ll also explore creative ways to integrate them into your designs, ensuring they contribute to the overall beauty and narrative of your pieces. From the simplest hook clasps to the most intricate bails that serve as central design features, this guide aims to inspire you to see findings not just as necessities, but as opportunities for creativity and personal expression in your jewelry making journey.

Findings, specifically clasps and bails, are the cornerstone components that ensure the functionality and enhance the aesthetics of jewelry pieces. They’re not just the mechanics behind the beauty but integral parts that contribute to the overall design and uniqueness of each piece. By crafting these elements yourself, you unlock the door to unparalleled customization, allowing every aspect of your jewelry to reflect a personal touch and artistic vision. DIY findings not only elevate the exclusivity of your creations but also imbue them with a distinct charm that off-the-shelf components simply cannot match.
Tools and Materials Needed
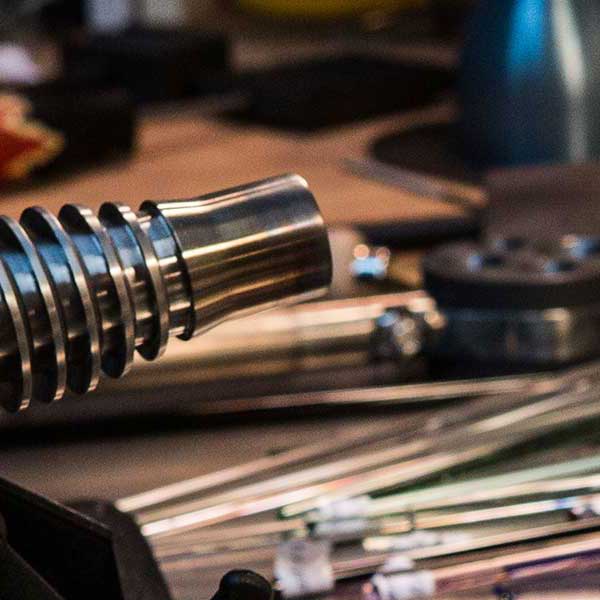
The tools required to make these clasps and bails can be very simple. Usually a pair of round nose pliers and flush cutters are all you’ll need. The metal can be formed using your fingers in most cases. It really depends on what you envision and the materials you want to use.
An example of the type of clasp I like to make requires a bit of metal wire .. I like to use sterling silver or copper, my trusty round nose pliers, and either a felt pen or dowel pin.
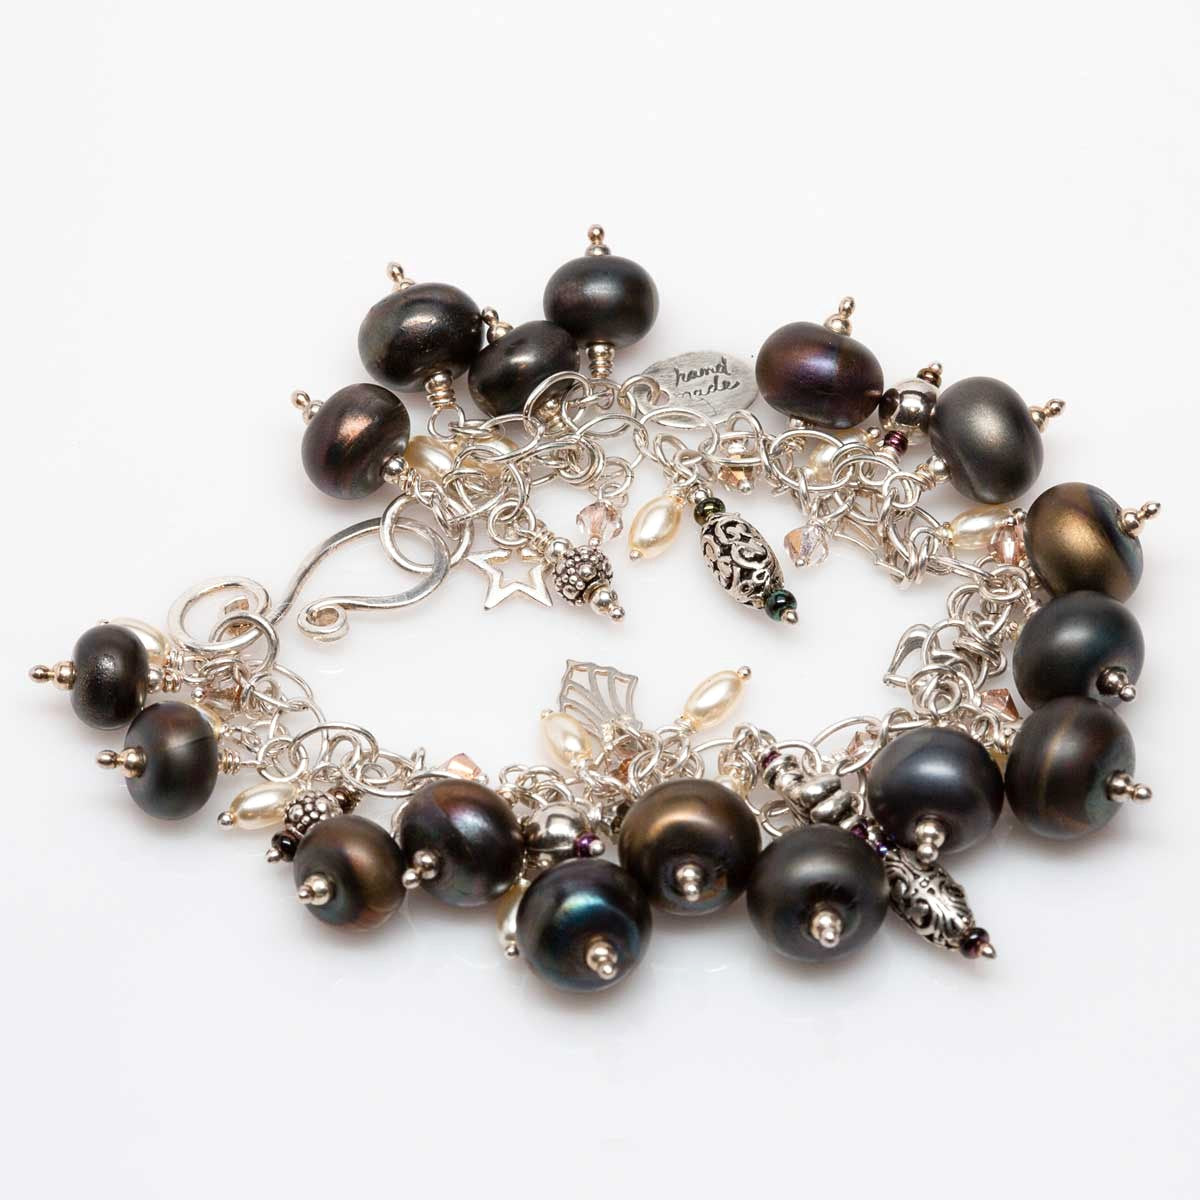
For clasps for necklaces I’m very aware of how difficult those little lobster clasps can be to open and close so whenever possible I like to make a simple S style clasp and a large jump ring or even simpler, I use a long chain that fastens in the front.
For bracelets, once again, I know how tough it can be to fasten a bracelet one handed. In some of my designs I’ve been fortunate to find really large clasps that open easily but they are expensive and not always available. In most cases I make a large S clasp and jump ring.
tip: A fastening option to consider for those who struggle with clasps, is magnets. My mother is a big fan of magnets. While it’s not easy to make a magenetic clasp, they are readily available in most jewelry supply stores and Etsy.
Choosing the Right Metal for your Project
There is no hard fast rule about what metal to use with what, that choice is up to you. My preference is to work with silver, both fine and sterling, but I also love to mix my metals, especially silver and brass.
Copper and brass offer an affordable and readily available option, while silver and gold, though pricier, can add a more luxurious touch. Even just a hint of gold paired with a silver clasp or bail can make a significant impact.
Techniques for Creating Simple Clasps and Bails
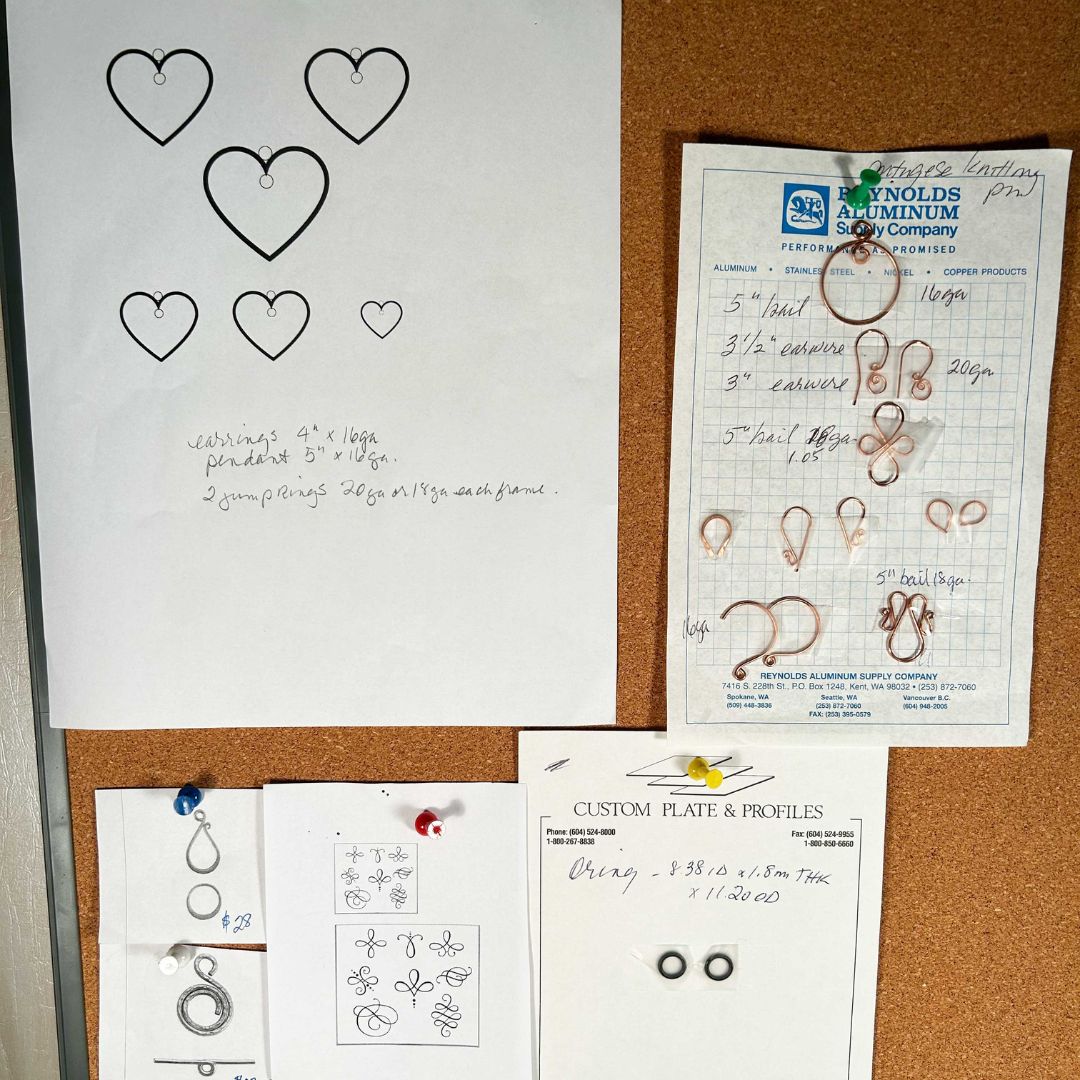
A simple hook clasp can be as plain or fancy as you like. To make this you’ll need your round nose pliers, flush cutters, 2″-4″ of 20 or 18 gauge wire in the material of your choice.
Starting at one end and using the end of your round nose pliers, make a circle at the end of the wire. Move to the other side of the wire and do the same.
Now using either end and your round nose pliers, place the pliers a little bit past the loop and using your fingers to make a larger round loop, start turning the end of the wire toward the other loop. You will want a small spiral.
Next move to the other end of the wire and using a felt pen, regular pen, dowel or what have you, start by wrapping the wire (with the small loop going in the opposite direction) around the pen or dowel. When done correctly you will have a larger loop at the top and small loop or spiral on the bottom and the clasp should look like this.
They say a picture is worth a thousand words so I made a quick video showing what I explained above.
Conclusion
Crafting your own findings isn’t just a step in jewelry making; it’s a journey into deepening the uniqueness and value of your creations. By choosing to make your own clasps, bails, and other components, you infuse each piece with a personal touch that can’t be replicated, elevating your jewelry from beautiful to truly bespoke. Let this be your invitation to embrace the creative freedom that comes with making your own findings.
Keep an eye out for the next installment in my “For the Love of Findings” series, where I’ll dive into the world of the various methods of creating your own findings. It’s an exploration you won’t want to miss, promising more tips, tricks, and inspiration to fuel your artistic journey.
Want to know when the next article is ready to drop? Join my Designer's Corner email and get these articles and more straight into inbox each month.