


Making Head Pins
Do you work with sterling or fine silver? If so, maybe you already make your own headpins. If not, you’ll love this quick tutorial on making quick headpins.
What you’ll need …
- 20 or 22 gauge fine silver wire
- wire cutters
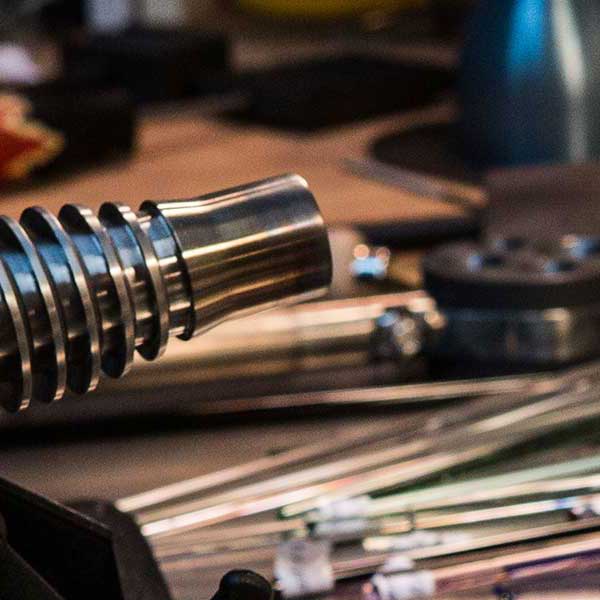
- butane torch
- tweezers
- ruler
- dish of water

When making head pins, the length of wire needed depends on the length of the bead you will be threading it through. The bead will also determine the wire gauge you will chose.
For small beads – 1/2″ diameter and under I generally use 22ga wire. It’s strong enough for the glass bead and it fits better through the hole of small accent beads, crystals, and pearls you may use along with the glass bead. For larger beads – over 1/2″ diameter I prefer to go with a heavier wire such as 18 to 20ga, as it’s easier to make a larger ball on the end of this gauge of wire.
Tip#1: keep in mind, the size of the bead hole. A lot of glass bead makers use 3/32 diameter (2.5mm) mandrels which after you add the bead release, the bead hole can grow to 5/32 diameter (4mm). In the case of larger bead holes you would have to secure the pin in the hole by either stuffing the hole or using larger accent beads that fit snuggly to the bead hole and will hold the pin in the center of the bead.
When determining your wire length, you will need to include the length of the bead, the loop size, the length of any additional accents (eg: crystals) you will want to add, 2 or 3 wraps around the neck of the pin after everything is added to the pin, and finally, depending on the size of ball you want on the end of your pin, add 1/8″ to 1/4″ of additional material.

I usually cut 2 1/2″ of wire which leaves me with plenty of material to do my wrapping and only a minimal trim at the end.
Using your tweezers, hold one end of your cut wire at the end of the flame being careful to only put the tip of the wire in the flame.
As the wire heats up you will see a ball form. It will move up the wire until you remove the wire from the flame. note: making large balls on light gauge wire usually results in little balls of silver all over your workbench. To make large balls use a heavier wire.

Drop the balled wire in the water dish and repeat the process until you have the number of head pins you need.
Tip#2: I recommend using fine silver so you don’t have to polish your head pins afterward. If you are using sterling silver your pins will look tarnished and need polishing. They will clean up nicely if you toss them in your tumbler for a while. This will also help to harden the pins. Using fine silver you will find the pins to be very soft. If you don’t have a tumbler you can get out the polishing cloth.

Tip #3: Looking at the picture where I’m holding the finished headpins, you can see little points at the ends of some of them. This can be fixed by adding a little more heat to finish melting the ball. It happens when you pull them out of the flame too fast.
You can also file off the point with a fine nail file or metal file. If you choose this step be sure to hold the pin right below the head and gently use the file or you’ll bend the heck out of the pin.
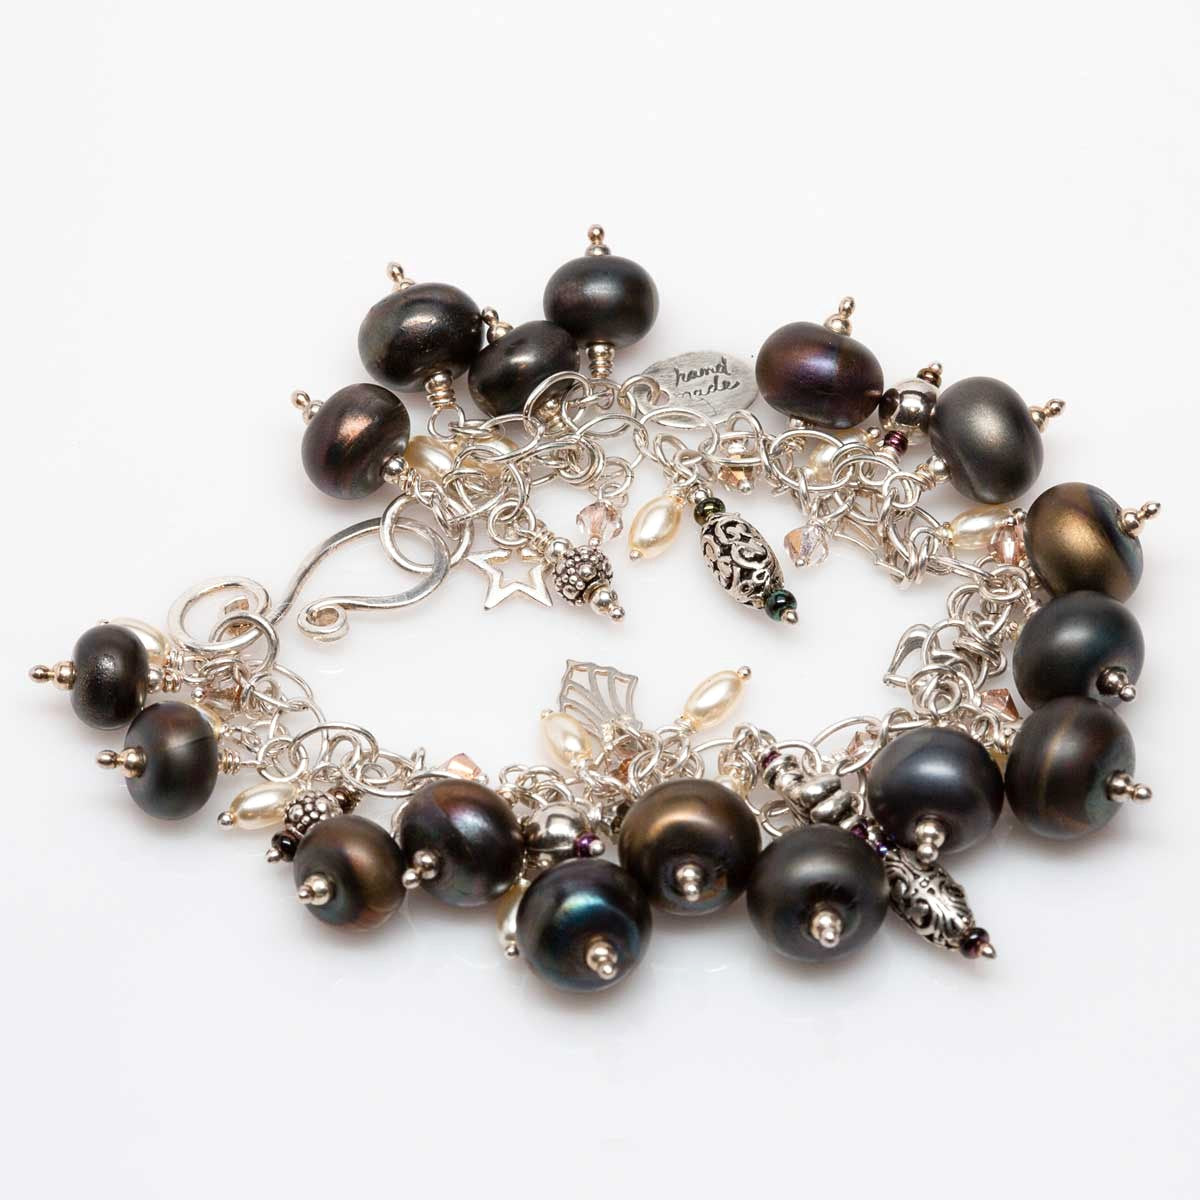
After you start making your own headpins you will probably never go back to buying them. When you can make your own you not only save money per piece but you can also create some funky and stylish designs.
Try hammering the head to flatten it or give it a different shape, like square or oval.
If you have any questions about this post or process please feel free to contact me.
Happy making!